Bleaching hardwood floors can be a great way to restore their natural beauty and improve the overall look of your home. But if done incorrectly, this process can damage your hardwood floors and cause permanent discoloration. In order to ensure that you are safely bleaching your hardwood floors, it’s important to understand the process and what materials you need before starting. Let’s take a closer look at how to bleach hardwood floors correctly.
Gather Materials
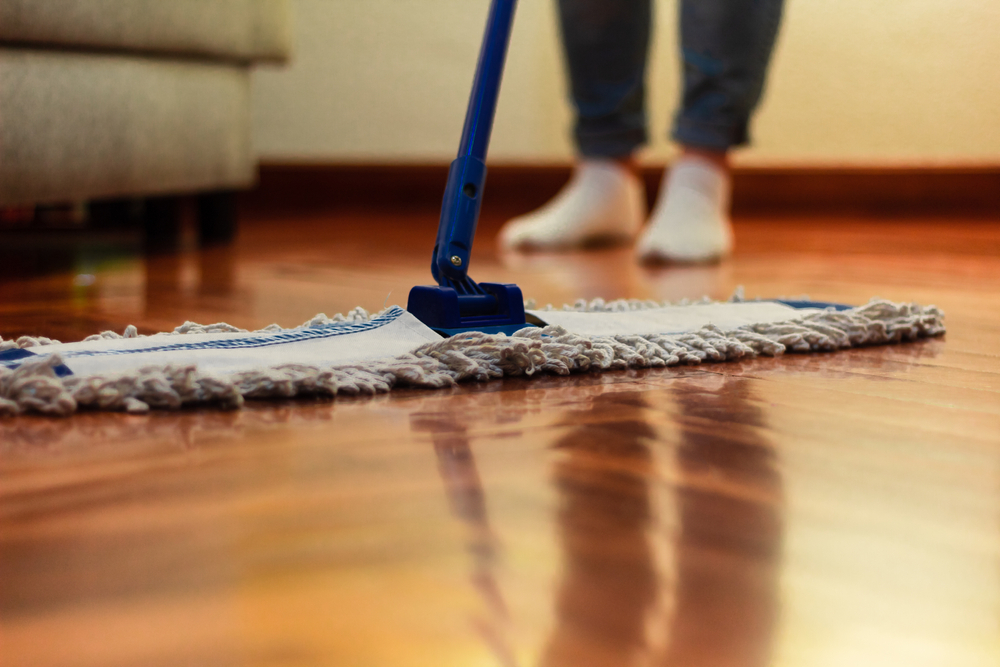
Before beginning the bleaching process, make sure you have all of the materials necessary for the job. You will need a cloth mop or sponge, some white vinegar (or another acid cleaner such as citric acid or lemon juice), water-based wood bleach, a bucket or bowl, a floor polisher (optional), and protective gloves and eyewear.
Prepare the Room and Floors
Before beginning the process of bleaching your hardwood floors, prepare the room by removing items from the area and cleaning up any debris or dust on the floor. This will ensure that you don’t accidentally bleach any furniture or other items in the room. Once everything is removed, give your hardwood floors a thorough cleaning with an appropriate cleaner. This will help remove any tough stains that may be present and make it easier for the bleach to penetrate through the wood.
Mix the Bleach Solution
Once your floors are cleaned and prepped, it’s time to mix a bleach solution specifically designed for hardwood floors. The type of bleach you use should depend on what type of wood you have—most often either white oak or red oak. Regardless of which kind of wood you have, always use non-chlorine bleach for best results. Mix about 2 parts water with 1 part bleach in a bucket until combined thoroughly before applying to your flooring surface with a mop or cloth. Let this sit for 10-15 minutes before rinsing off with warm water and drying with a towel or mop.
Apply Wood Stain
Now that your hardwood floors have been bleached, they may appear slightly lighter than before—especially if they were stained previously. To restore their original color and vibrancy, apply a wood stain in whatever shade suits you best using a rag or brush as directed on its packaging. Once applied evenly across all surfaces, let dry completely overnight before replacing furniture in the area so that it doesn’t become ruined by excess moisture still present on the flooring surface.
Polishing (Optional)
Finishing off the job is an important step for your newly-bleached hardwood floors. If you have a floor polisher, now is the time to use it—the protective wax coating that it applies will help protect your floors from wear and tear in the future. Otherwise, you can use a cloth mop or sponge to apply a wood finish of your choice, such as polyurethane or wax, for optimal protection.
By following these steps and using the proper materials, you can safely bleach hardwood floors and restore their natural beauty without damaging them in the process. Keep in mind that bleaching is not appropriate for all types of wood, so make sure to check with a professional before attempting it on your own. With the right preparation and care, you can have beautiful bleached hardwood floors that last for years to come.
Conclusion:
Bleaching hardwood floors correctly requires taking precautions beforehand to ensure it goes off without a hitch—including preparing the room by removing all items from it and giving your flooring surface a good clean prior to applying any type of solution to it. By following these steps as outlined above, you can safely achieve cleaner and brighter hardwood floors without risking any damage that could be caused by doing it incorrectly!


